


Customising the TimeManager time stamp
TimeManager is a fantastic plugin for QGIS which allows you to create animated maps from your data. You can read all about it here and here, and there’s a really nice demonstration of it here.
I’ve been playing with TimeManager a fair bit over the last month, and thought I’d share a quick tip on improving the appearance of TimeManager’s time stamp. TimeManager includes some basic functionality for placing a time stamp in the corner of your outputs, but it’s fairly limited. There’s only some basic appearance options, and no way to control the date or time formats displayed.

But, there’s a trick we can use to get around this: use a temporary point layer for the time stamp label. Let me elaborate:
- Create a throwaway point layer. It doesn’t matter what fields or format this layer has.
- Add a single point feature to this layer at the place you’d like the improved time stamp to appear at.

…add a single point feature - We don’t want to see the marker, so hide the symbol for this layer by setting it to use a transparent fill and outline.

Transparent fill and outline - Then, enable labels for this layer. Here’s the trick – set the label expression for the label to use “animation_datetime()” (or for QGIS 2.8, “$animation_datetime”). This is a custom function provided by the TimeManager plugin which evaluates to the current frame’s date and time.
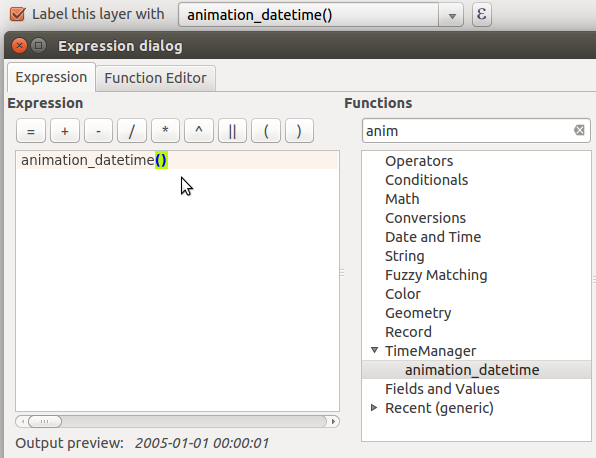
Setting the layer’s label expression - Now, you can use all the built-in options within QGIS for styling this label. Buffers, drop shadows, background shapes… anything!

…tweaking the label appearance - Apply and check. Much nicer!

A nicely formatted time stamp - To tweak the formatting of the time stamp’s date and time, you can modify the label expression using the built-in ‘format_date’, ‘year’, ‘month’, etc functions. Let’s try “format_date(animation_datetime(),’ddd dd MMM yyyy’)”:

Tweaked expression
Now, our final formatted time stamp looks like this:
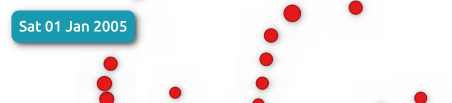
…and there we go. Using this simple trick allows you to take advantage of all the possibilities which the QGIS labelling and expression engines allow!
*Bonus points for the first person to use this technique along with data defined controls for animating the label colour/size!
