Vintage map design using QGIS
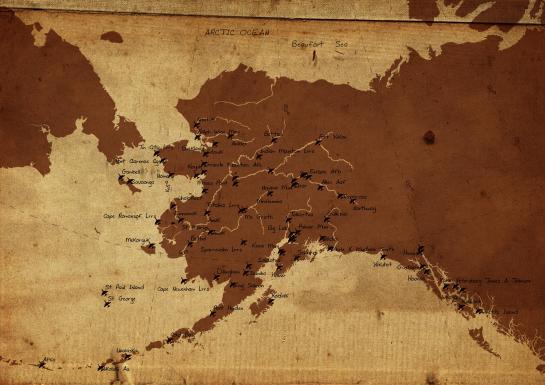
This post describes the three simple steps necessary to create a vintage-looking map using the blending feature in QGIS 2.0′s print composer. This is what we are aiming for:
1. Prepare the map
Like any other map, this one starts in the QGIS main window. Try to stick with earthy colors which will go well with the old paper look. For labels, try fonts which look like handwriting.
Once you are happy with your map
2. Prepare the composition background
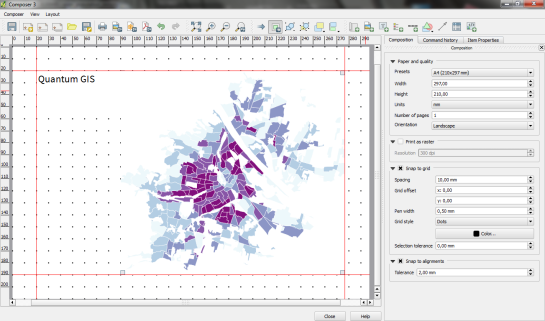
To get that vintage feel, we need a background image with a great texture. You can find such textures on sites like lostandtaken.com. Download one you like and add it to an empty print composer. Make sure it covers the whole paper:
Lock the image by right-clicking it once – a small lock icon should appear in the upper left corner.
3. Finish the composition
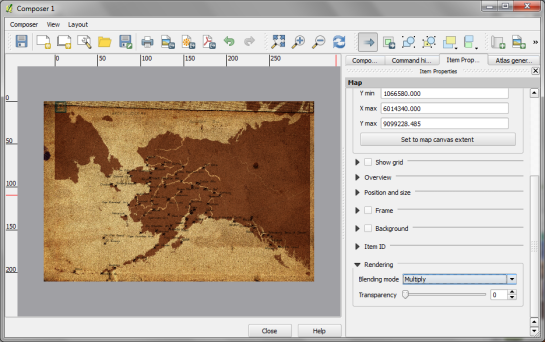
The final step is to add the map on top of the background image. To make our nice background texture shine through, we enable the “multiply” blending mode in the map’s rendering options:
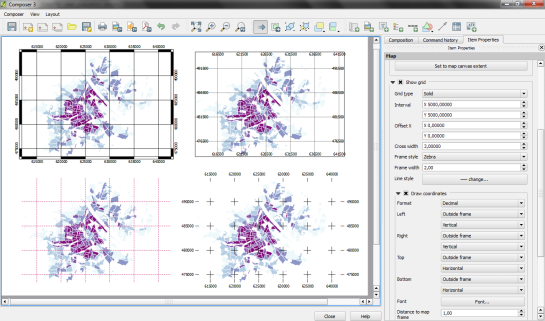
Feel free to add north arrows or drawings of dragons as finishing touches.


