QGIS Planet

Getting multipolygon vertexes using PostGIS

EN | PT

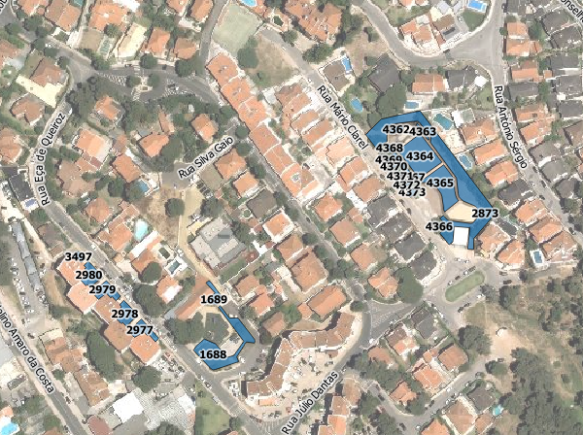
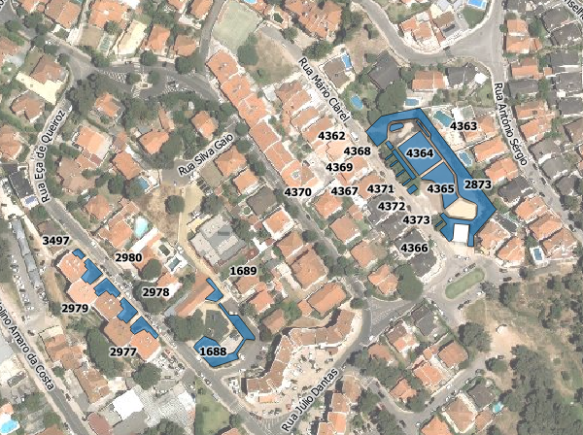
Today I needed to create a view in PostGIS that returned the vertexes of a multi-polygon layer. Besides, I needed that they were numerically ordered starting in 1, and with the respective XY coordinates.

Screenshot from 2015-11-05 23:58:19

It seemed to be a trivial task – all I would need was to use the ST_DumpPoints() function to get all vertexes – if it wasn’t for the fact that PostGIS polygons have a duplicate vertex (the last vertex must be equal to the first one) that I have no interess in showing.

After some try-and-fail, I came up with the following query:

CREATE OR REPLACE VIEW public.my_polygons_vertexes AS
WITH t AS -- Transfor polygons in sets of points
    (SELECT id_polygon,
            st_dumppoints(geom) AS dump
     FROM public.my_polygons),
f AS -- Get the geometry and the indexes from the sets of points 
    (SELECT t.id_polygon,
           (t.dump).path[1] AS part,
           (t.dump).path[3] AS vertex,
           (t.dump).geom AS geom
     FROM t)
-- Get all points filtering the last point for each geometry part
SELECT row_number() OVER () AS gid, -- Creating a unique id
       f.id_polygon,
       f.part,
       f.vertex,
       ST_X(f.geom) as x, -- Get point's X coordinate
       ST_Y(f.geom) as y, -- Get point's Y coordinate
       f.geom::geometry('POINT',4326) as geom -- make sure of the resulting geometry type
FROM f 
WHERE (f.id_polygon, f.part, f.vertex) NOT IN
      (SELECT f.id_polygon,
              f.part,
              max(f.vertex) AS max
       FROM f
       GROUP BY f.id_polygon,
                f.part);

The interesting part occurs in the WHERE clause, basically, from the list of all vertexes, only the ones not included in the list of vertexes with the maximum index by polygon part are showed, that is, the last vertex of each polygon part.
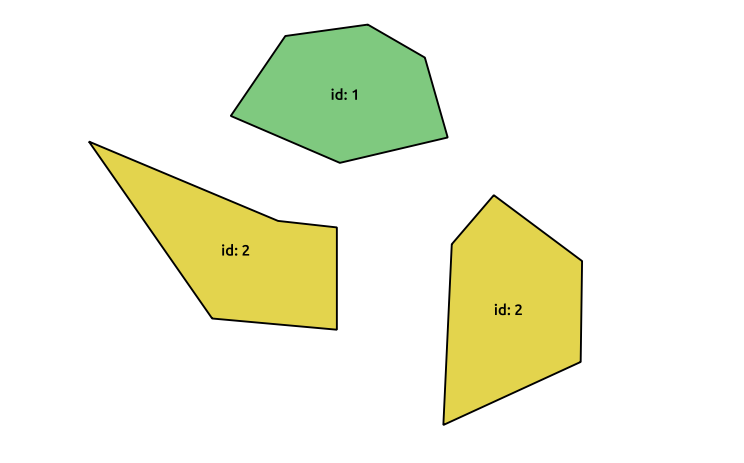
Here’s the result:

Screenshot from 2015-11-05 23:58:40

The advantage of this approach (using PostGIS) instead of using “Polygons to Lines” and “Lines to points” processing tools is that we just need to change the polygons layer, and save it, to see our vertexes get updated automatically. It’s because of this kind of stuff that I love PostGIS.

Labels leading lines with QGIS and Postgis

EN | PT

Recently I had the need to add labels to features with very close geometries, resulting in their collision.

Capturar_3

Using data-defined override for label’s position (I have used layer to labeled layer plugin to set this really fast) and the QGIS tool to move labels, it was quite easy to relocate them to better places. However, in same cases, it was difficult to understand to which geometry they belonged.

Capturar_2

I needed some kind of leading lines to connect, whenever necessary, label and feature. I knew another great plugin called “Easy Custom Labeling“, by Regis Haubourg, that did what I needed, but it would create a memory duplicate of the original layer, wish meant that any edition on the original layer wouldn’t be updated in the labels.

Since the data were stored in a PostgreSQL/Postgis database, I have decided to create a query that would return a layer with leading lines. I used the following query in DB manager:

SELECT
  gid,
  label,
  ST_Makeline(St_setSRID(ST_PointOnSurface(geom),27493), St_setSRID(St_Point(x_label::numeric, y_label::numeric),27493))
FROM
  epvu.sgev
WHERE
  x_label IS NOT NULL AND
  y_label IS NOT NULL AND
  NOT ST_Within(ST_Makeline(St_setSRID(ST_PointOnSurface(geom),27493), St_setSRID(St_Point(x_label::numeric, y_label::numeric),27493)),geom))

This query creates a line by using the feature centroid as starting point and the label coordinate as end point. The last condition on the WHERE statement assures that the lines are only created for labels outside the feature.

Capturar_1

With the resulting layer loaded in my project, all I need is to move my labels and save the edition (and press refresh) to show a nice leading line.

guidelines

Dissolver polígonos em Postgres\Postgis

Trata-se de um cenário muito recorrente em análise espacial. Tendo uma camada\tabela composta por diversos polígonos, queremos “juntá-los” de acordo com valores distintos de um ou mais atributos (exemplo: de uma camada com os limites de freguesias, queremos obter os concelhos, ou, da COS ao 3º nível, obter o 2º ou o 1º)

Este artigo tem como objectivo mostrar como fazê-lo em Postgres\Postgis.

Tabela de exemplo

Como exemplo vou usar uma tabela como o seguinte formato:

CREATE TABLE tabela_1
    (gid serial PRIMARY KEY,
     campo1 character varying(128),
     campo2 integer,
     geom geometry(MultiPolygon,27493);

tabela1_original_tabela

tabela1_original

Dissolver todos os polígonos

Em primeiro lugar podemos simplesmente agregar todos os elementos num multi-polígono único. Para tal usamos a função ST_Union().

SELECT
    ST_Union(t.geom) as geom
FROM
    tabela_1 as t;

tabela1_union

Separar polígonos que não sejam contíguos

Se por outro lado não quisermos que o resultado apresente multi-polígonos usamos a função ST_Dump() recolhendo o campo da geometria.

SELECT
    (ST_Dump(ST_Union(t.geom))).geom as geom
FROM
    tabela_1 as t;

tabela1_union_dump

Dissolver polígonos com base em valores dos campos

Se quisermos dissolver os polígonos que tenham valores iguais num ou mais campos, basta incluí-los na cláusula GROUP BY. Se quisermos que esses campos apareçam no resultado (geralmente queremos) há que referi-los no início do SELECT.

SELECT
    campo1,
    campo2,
    (ST_Dump(ST_Union(t.geom))).geom as geom
FROM
    tabela_1 as t
GROUP BY
    campo1,
    campo2;

tabela1_union_by_value

Nota 1: Para quem prefere usar interfaces gráficos, preencher formulários e clicar em botões, o uso de SQL para fazer este tipo de operações pode parecer demasiado complicado e até um pouco retrógrado. Mas uma coisa garanto, com alguma prática as dificuldades iniciais são ultrapassadas e os benefícios que se retiram deste tipo de abordagem são muito recompensadores.

Nota 2: Visualizar o resultado deste tipos consultas de agregação (que usam a cláusula GROUP BY) no QGIS pode ser desafiante, este artigo explica como ultrapassar essa dificuldade.


Back to Top

Sustaining Members